
Happy Customers
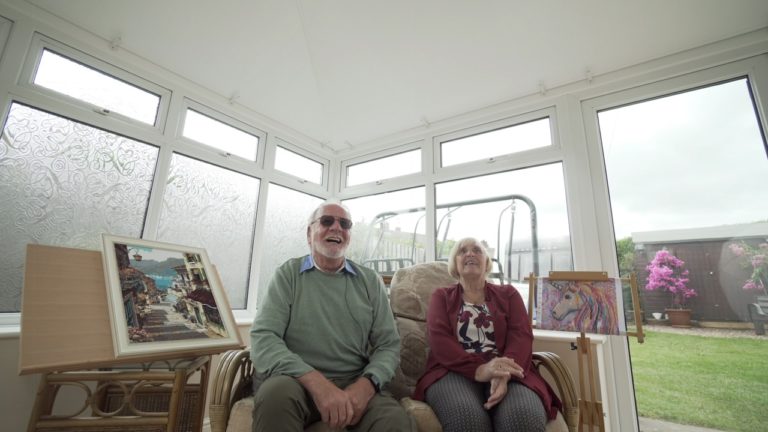
Mrs Willis wishes she had insulated her conservatory years ago
Learn how this Bawtry grandmother created a room her grandkids love with Climatized Conservatories
How we install your conservatory roof insulation, from start to finish
Step 1
A fully trained member of our team will visit you at home at an arranged time that is suitable to you. They will take all necessary measurements and assess the suitability of your conservatory to receive insulation.
Your team member will bring samples of our exclusive finishes and will be able to answer any questions you have about the project.
In most circumstances you will receive a quote upon completion of the site survey. This will include the cost of materials, labour and any remedial work needs to be done.
We pride ourselves on our customer service and we never pressure sell or add unforeseen costs when the job is completed.
If you’ve happy with the quote then we can arrange a date for installation there and then, but if you’re not sure or you need a sign-off from a partner then you can contact us at your convenience to arrange.
Step 2
On your day of installation the first thing on the schedule is to prepare your space for the job. We can move your furniture to a prearranged location in a garage, inside the house or outdoors (weather permitting of course!). We’ll then fit a temporary protective sheet over your floor.
We normally work in teams of two or three so while this is going on we’ll begin a deep external clean of your conservatory using professional-grade cleaning products from SilverSil®.
Step 3
After measuring (twice, so we only have to cut once!) we fix a bespoke framework to your existing ceiling. Your choice of insulation is attached to this framework, which is then secured in place with another layer of frame.
Both choice of insulation – multi-foil and Kingspan – offer incredible thermal properties as well as being highly rated for fire safety. They also contain vapour barrier technology, which helps prevent damp getting trapped in your new ceiling.
Step 4
The final and most exciting step is to install your choice of finishing layer. We make sure it matches the unique contours of your ceiling using trim pieces around the circumference and at any angles.
We offer a wider range of high-quality finishes than any of our competition
Step 5
We’ll get your sign off next to make sure everything is up to our high standards. Next we clean the internal area and any mess created during fitting.
Now we bring back all of the furniture we moved earlier. If you’ve ever considered changing things around, now is the time to do it!
Step 6
Easy!
Rest assured knowing you’re saving money as well as the planet in a space that’s a delight to be in again. Time to invite your friends & family around to admire it!
Learn how this Bawtry grandmother created a room her grandkids love with Climatized Conservatories
Discover how we transformed this Kirk Sandall couple’s conservatory into their favourite room in the house